 |
| $20 EUCALYPTUS 8x10 Botanical Print |

March 16, 2011
Japan Disaster Relief Donation
All proceeds from the purchase of this $20 print will be donated to the Red Cross for Japan earthquake and Pacific tsunami Relief. Please help today.
March 5, 2011
Giclée Prints Part 2: Printer and Ink
Giclée is a high-quality archival inkjet print. Printers vary in dot size, and inks vary in longevity. Be careful because even the best printer can be run at a more economical setting resulting in a soft and dull print. The key is to ask a lot of questions if you're buying prints, and provide a lot of information if you're selling prints.
Ink Type
Inkjet printers use either dye or pigment ink. When giclée printers were first used to make fine art prints, they used dye-based inks that were able to print a small dot size and wide color gamut on uncoated paper. Dyes are absorbed into the paper and are considered archival because in the right conditions they can last 50 years or more. Five years ago some debated that dye based inks were the best. Today the color range in pigments has now surpassed dyes and the added longevity now makes them a far better choice than dyes. Pigments require a coated paper stock that is compatible with the printer. The right combination of paper, printer and inks will produce a print that will last up to 200 years if stored and displayed properly.
In an attempt to save money, some printmakers have switched out the manufacturer’s inks for a third-party’s low-cost cartridge-refilling system, usually sold in bulk amounts. Ink in bulk can get old and clog print heads, affecting printer performance. Some photographers switch out colored inks for black and gray tones, when looking for a true black and white photograph.
Print Permanence Ratings
Wilhelm Imaging Research evaluates print permanence ratings (or longevity) for nearly every printer. Before buying a printer or investing in a print run, check out the testing done by Wilhelm. Luminous Landscape is also known for comprehensive reviews of printers. More print permanence information is available on the DP & I website.
Dot Size
You've probably heard of DPI (dot per inch), which refers to density, or the amount of dots per inch. DPI can change based on the printer settings. The printer also has an actual dot size that is measured in picoliters (1 picolitre (pl) = 0.000000000001 liter) that cannot be changed. Some printers use variable size ink droplets, meaning that various inks will print with different drop sizes. Smaller dot sizes result in finer detail, smoother gradients and less graininess. Five years ago a 6 pl dot was considered small. Today’s printers have dots as small as 1.5 pl. Some will argue that anything smaller than 3 pl cannot make a difference in print quality.
Printer Settings and Color Profiles
Dot size will mean nothing if the printer is not used to its highest capability. There are various print modes, such as "normal" and "best", in the print dialog box that control the density of ink. Bi-directional printing, another option in the printer dialog, means the printer will lay down ink in both directions. Bi-directional can save time, but in some cases can decrease quality and put extra stress on the printer.
The right color profile in the printer settings is one of the most important things to get right. Printers like the HP Designjet Z3200 allow the user to make and install their own custom profiles. If you don’t have a printer like this you will have to use a spectrometer and other expensive color measurement equipment to make a profile unique to your printer, paper and environment. If this is beyond your means, most paper suppliers provide profiles they have made. Color profiles are complicated and can be hard to understand. Just remember that everything has its own profile and in order to get a good print you need to ensure they all work together - your monitor, Photoshop, the image, the paper and the printer.
You can have the smallest dot size and greatest longevity, but printer and ink are only part of what it takes to make a great print. In Part 3, I will discuss paper and other substrates.
Giclée Prints Part 1: A Great Giclée
Giclée Prints Part 3: Paper and Other Substrates
Giclée Prints Part 1: A Great Giclée
Giclée Prints Part 3: Paper and Other Substrates


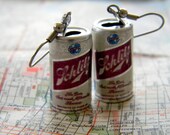
Schlitz and Giggles
All these unique items are inspired by beer. This treasury is inspired by MeredithGrace's awesome Schlitz and Giggles earrings. You won't find things like these anywhere else but on Etsy!
 Schlitz and giggles. $8.00 |  SPRING BREAK Vintage Budweis... $39.00 |
 Beer Mug Vintage dictionary... $8.00 |  collection of vintage beer c... $16.00 |
 Monogrammed Beer Mug / Stein... $18.00 | 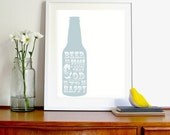 Beer Is Proof That God Wants... $20.00 |
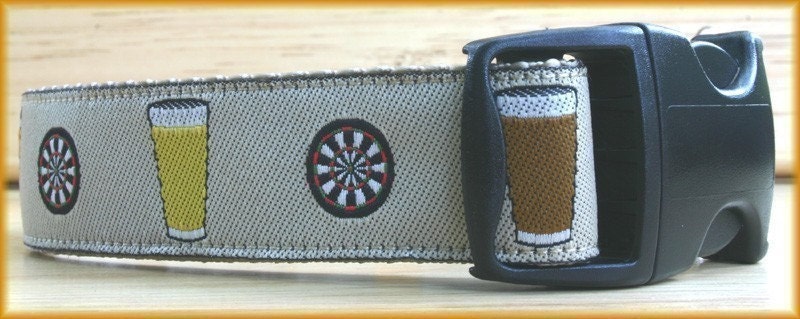 Designer Preppy Ribbon Manly... $13.00 |  2 Double Bastard Ale Tumbler... $20.00 |
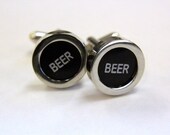 Cash Register Key Cufflinks ... $32.00 |  Beer Makes Me Happy Original... $33.00 |
 Blue Ribbon Beer Vinyl iPhon... $6.99 |  Mugstached Beer Mug Amigurum... $8.99 |
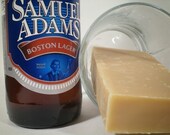 Sammy Boy Beer Soap - Made w... $5.50 |  PBR PABST BLUE RIBBON BEER C... $10.00 |
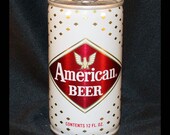 American Beer - Wall Mounted... $26.00 | 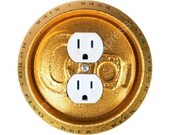 Beer Can Round Duplex Outlet... $12.99 |
Treasury tool is sponsored by Lazzia.com A/B image testing.
February 26, 2011
Repairing Family Photographs
Repairing Family Photographs
Light, mold, moisture and non-archival materials can damage family photographs. Light as well as the frame has damaged the photo below. It would take a restoration professional to bring this one back to its original state. Luckily, we have found an 8x10 copy that is in better condition.
Although the 8x10 copy was stored in a typical family photo album, it also has signs of deterioration, mostly in terms of a shift in color. Most typical photo albums are not made of acid-free materials and are not intended for long-term storage.
I have decided the only way to truly preserve the family photos is to digitize them. Most need some amount of color correction. The biggest problem is scratches and dust from the original film.
The following instructions will show you how to eliminate scratches and dust as well as some tips on correcting color issues. Good luck.
1. Color profiles can be complicated but are very important to getting the color correct. Almost all household scanners and point-and-shoot digital cameras will embed the RGB color profile sRGB IEC61966-2.1. If you are only viewing images on the web, this profile is fine, but for print you will want to convert to Adobe RGB1998. Make sure you first assign the sRGB profile to your image if it doesn’t have an embedded profile then convert to RGB1998.
2. Reduce Noise (Filter-Noise). Removes color artifacts made up by scanners and digital cameras, especially in low light situations. I recommend a strength of 6-8. Keep the rest of the levers between 40-60%.
3. Fix the color using the tools you feel comfortable with. This photo, like many old photos is too red. I will use Selective Color to take red out of red. I will also use Curves to adjust the reds in the Red Channel, as well as adjust the yellow in the Blue Channel. Use your Info Palette to read the color numbers.
4. Many original old photographs have lots of dust, speckles and scratches. The Dust & Scratches Filter (under Noise) is helpful but to make it more effective first sharpen your file using Sharp Sharpen or Unsharp Mask. The amount will vary based on your image. I recommend turning off the sharpen feature on your scanner and using only Smart Sharpen in Photoshop. In this photograph I used Amount 80%, Radius 1.6, More Accurate, Shadow and Highlight Fade Amount 30%, Tonal Width 50%, Radius 3 pixels.
5. The sharpening enhanced the dust and speckles so that the Dust & Scratches Filter (under Filter/Noise) could find them. In this photograph I use Radius 3 pixels and Threshold 30 levels. Higher radius and lower threshold enhance the effect. I usually stay between 1-3 radius and 20-40 threshold when using this tool.
6. Always save your files to be printed as tiffs. You should think of jpegs as temporary files to transfer images to the web or email.
Light, mold, moisture and non-archival materials can damage family photographs. Light as well as the frame has damaged the photo below. It would take a restoration professional to bring this one back to its original state. Luckily, we have found an 8x10 copy that is in better condition.
 |
| Photograph exposed to light and acidity |
 |
| Photograph stored in album before digital restoration |
The following instructions will show you how to eliminate scratches and dust as well as some tips on correcting color issues. Good luck.
1. Color profiles can be complicated but are very important to getting the color correct. Almost all household scanners and point-and-shoot digital cameras will embed the RGB color profile sRGB IEC61966-2.1. If you are only viewing images on the web, this profile is fine, but for print you will want to convert to Adobe RGB1998. Make sure you first assign the sRGB profile to your image if it doesn’t have an embedded profile then convert to RGB1998.
 |
| Under Color Setting check all boxes "ask when opening" |
3. Fix the color using the tools you feel comfortable with. This photo, like many old photos is too red. I will use Selective Color to take red out of red. I will also use Curves to adjust the reds in the Red Channel, as well as adjust the yellow in the Blue Channel. Use your Info Palette to read the color numbers.
4. Many original old photographs have lots of dust, speckles and scratches. The Dust & Scratches Filter (under Noise) is helpful but to make it more effective first sharpen your file using Sharp Sharpen or Unsharp Mask. The amount will vary based on your image. I recommend turning off the sharpen feature on your scanner and using only Smart Sharpen in Photoshop. In this photograph I used Amount 80%, Radius 1.6, More Accurate, Shadow and Highlight Fade Amount 30%, Tonal Width 50%, Radius 3 pixels.
 |
| Before sharpening and dust & scratches |
 |
| Detail, after color correction, sharpening dust & scratches |
 |
| Final corrected photograph |
February 22, 2011
The Cool Tones of Winter
The cool grays and blues of the brisk winter weather are contrasted by the warm browns glowing from the indoor sanctuaries we call home.
 Past Dew- framed collage mad... $950.00 |  soft blonde garden $75.00 |
 seed pods and seams pillow $125.00 |  Gift under 10. Set of 2 knit... $8.00 |
 Tern Shorebird by Harry Monk $165.00 |  Vintage-Inspired Dessert Ped... $27.00 |
 moss . fine art print $22.50 | 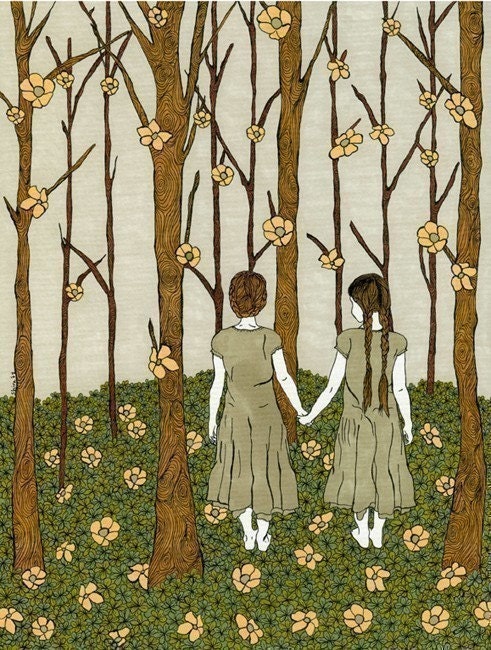 Human Nature - Art print $20.00 |
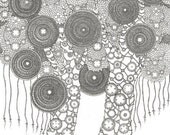 Wishing Tree: Auspicious Ink... $35.00 |  Getting It Right - Art Print $20.00 |
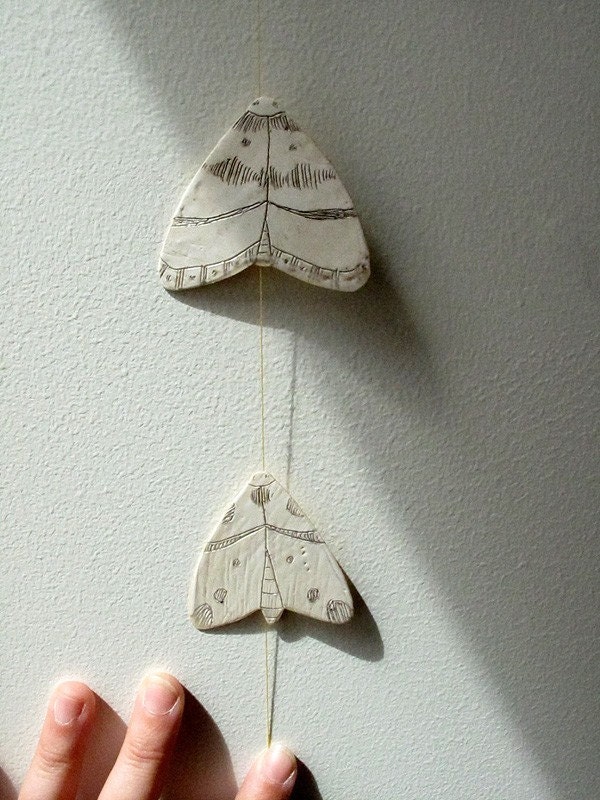 moths - paper and wax string... $45.00 | 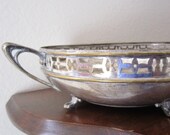 Shabby Chic Silver Bowl $13.00 |
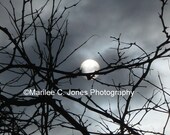 Pearl Moon, Silver Sky 8 x10... $12.00 |  vintage unique mid century l... $32.00 |
 Handmade XL 38x50 Unique Tou... $ | 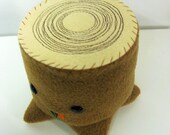 Light Brown Stump $25.00 |
Treasury tool is sponsored by Lazzia.com A/B image testing.
February 21, 2011
Life Lace
These original artworks are inspired by texture, shape and color. I am interested in how the natural texture on the ginkgo leaves contrast the hand cut paper and the painted surface. The shapes of the Italian hand cut paper are taken directly from a plant I grew. All eight pieces make up that one plant. These eight artworks were made over many years. This is one of my favorite projects. The colors of the ginkgo leaves are vibrant and contrast with the calming teal blue of the scalloped paper. The textures and shapes of the painted elements and the collage elements are what make these pieces truly unique. The collage contains painting elements, real dried ginkgo leaves and hand cut Italian paper. These original artworks are available for purchase on Etsy.
 |
| Life Lace No. 1 |
 |
| Life Lace No. 2 |
 |
| Life Lace No. 3 |
 |
| Life Lace No. 4 |
 |
| Life Lace No. 5 |
 |
| Life Lace No. 6 |
 |
| Life Lace No. 7 |
 |
| Life Lace No. 8 |
Subscribe to:
Posts (Atom)